How can students turn a few straws and pieces of paper into a house model? Our Build a Pilgrim House Thanksgiving STEM Activity connects a reading passage with a hands-on engineering challenge. Students learn about the structure they will represent, develop a plan, and work together to bring their ideas to life.
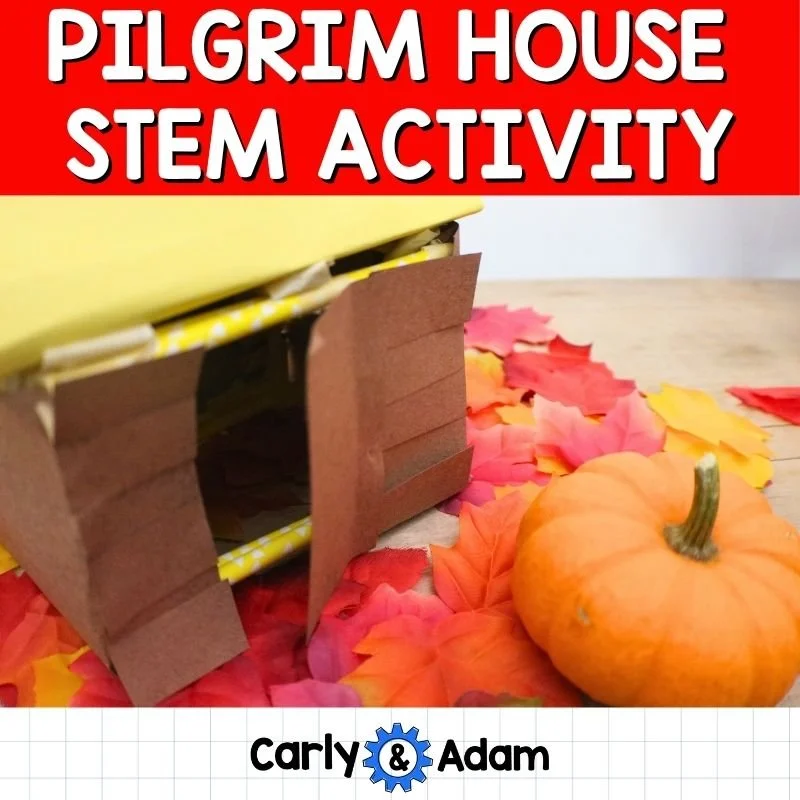
Pilgrim House STEM activity cover with a paper house model and fall leaves. Connect reading and engineering with a Pilgrim house STEM challenge. Students plan and build a model using straws, paper, and tape, then explain how their design represents the structure they studied. This image previews Build a Pilgrim House Thanksgiving STEM Activity from Carly and Adam. Use it to take a closer look at the resource before preparing your lesson. Give students time to explain what they notice. Keep the materials organized before students begin. Invite children to share their thinking with a partner. Use the teacher directions to prepare for the activity. Leave time for a short conversation about the learning. Let students describe a choice they made. Explore this activity in Carly and Adam’s store.
Give the Building a Purpose
Start with the included reading passage and comprehension questions. Invite students to notice the parts of the house described in the resource, especially its frame and roof. Those details become a starting point for their models.
Ask, “How could we use our materials to represent a frame?” and “What might we change to make a roof stay in place?” Students can connect information from their reading with decisions they make while building. Keep the discussion grounded in the particular house they are studying.
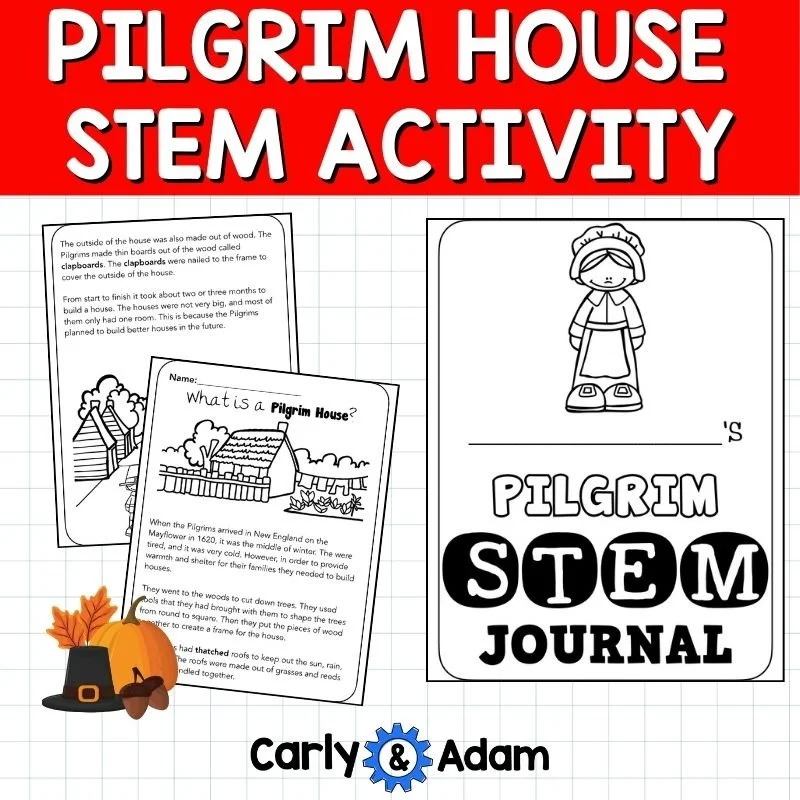
Preview of reading passage and Pilgrim STEM journal. Connect reading and engineering with a Pilgrim house STEM challenge. Students plan and build a model using straws, paper, and tape, then explain how their design represents the structure they studied. This image previews Build a Pilgrim House Thanksgiving STEM Activity from Carly and Adam. Use it to take a closer look at the resource before preparing your lesson. Give students time to explain what they notice. Keep the materials organized before students begin. Invite children to share their thinking with a partner. Use the teacher directions to prepare for the activity. Keep the focus on the process as well as the finished work. Plan a hands-on learning experience with a seasonal connection. Save this idea for your next November lesson!
Gather the Materials
The lesson suggests these materials for each group of two or three:
10 straws
2 yards of tape
Two pieces of brown construction paper, 9 by 12 inches
One piece of yellow construction paper, 9 by 12 inches
Scissors
For younger engineers, the teacher directions also recommend a piece of cardboard or cardstock as a base to tape their model onto. Preparing a set of materials for each group makes the limits clear before students begin.
Plan Individually, Then Plan Together
Give students time to sketch their own ideas before they settle on a group design. The lesson allows 10 minutes for individual planning, 10 minutes for team planning, and 30 minutes for construction. The included planning pages help students record their thinking.
During the team conversation, encourage every student to explain a useful part of their plan. They may combine one person’s frame idea with another person’s approach to the roof. Agreeing on a design gives students a reason to listen and make decisions together.
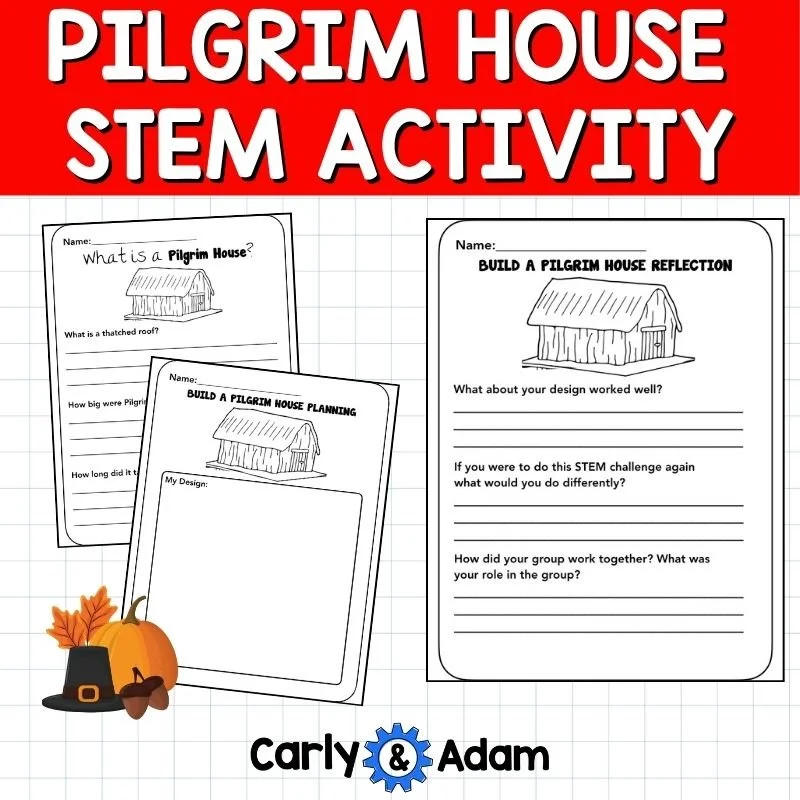
Pilgrim House preview showing planning pages and a labeled house diagram. Connect reading and engineering with a Pilgrim house STEM challenge. Students plan and build a model using straws, paper, and tape, then explain how their design represents the structure they studied. This image previews Build a Pilgrim House Thanksgiving STEM Activity from Carly and Adam. Use it to take a closer look at the resource before preparing your lesson. Give students time to explain what they notice. Keep the materials organized before students begin. Invite children to share their thinking with a partner. Use the teacher directions to prepare for the activity. Leave time for a short conversation about the learning. Choose the support that fits your students. Explore this activity in Carly and Adam’s store.
Let the Model Change as Students Build
A paper roof may be heavier than students expected. A straw frame may need a different connection. These moments give students something to investigate. Ask them to look closely at the part that needs support and decide what they could try next.
The teacher directions encourage models that show a frame and a roof representing the features students learned about. Older students can also include a door and chimney. The goal is a model students can explain, with choices they can connect to their reading.
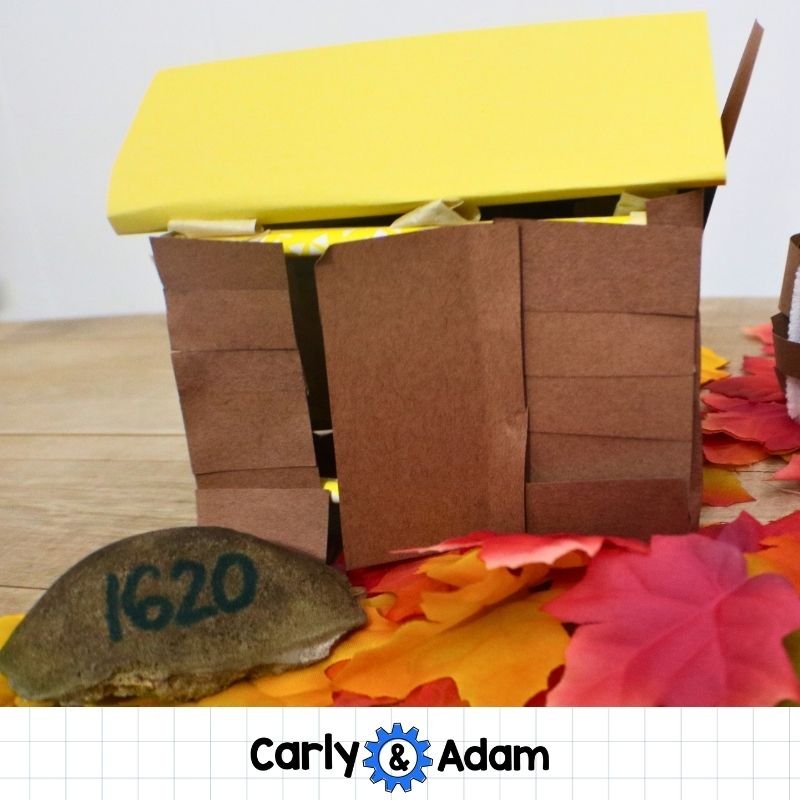
Paper house model with brown walls and a yellow roof. Connect reading and engineering with a Pilgrim house STEM challenge. Students plan and build a model using straws, paper, and tape, then explain how their design represents the structure they studied. This image previews Build a Pilgrim House Thanksgiving STEM Activity from Carly and Adam. Use it to take a closer look at the resource before preparing your lesson. Give students time to explain what they notice. Invite children to share their thinking with a partner. Use the teacher directions to prepare for the activity. Leave time for a short conversation about the learning. Keep the focus on the process as well as the finished work. Make space for questions, observations, and student ideas. Save this idea for your next November lesson!
Share the Design and Reflect
After building, invite groups to present their houses. Ask students to describe a feature they included, a problem they encountered, and a change they made. Use the included reflection and writing pages to help them connect their finished model with the process.
The lesson also suggests researching Wampanoag homes and comparing the two kinds of structures. Treat that as a separate research extension using appropriate sources, rather than assuming one model represents every home or community.
This challenge brings reading, planning, teamwork, and construction into the same November lesson. Gather the simple supplies and see how many different house models your students create.
Spend Less Time Planning and More Time Teaching!
Hands-on STEM learning starts here.
Find ready-to-use lessons, practical professional development, and a community of educators in the STEM Teachers Club. Spend less time planning and more time helping students create, explore, and learn together!